How to configure Bulk Email module?
After you add the module on a page according to instructions above, please click “Management Center” and enter following interface.
There are eight tabs included, we will explain them one by one next.
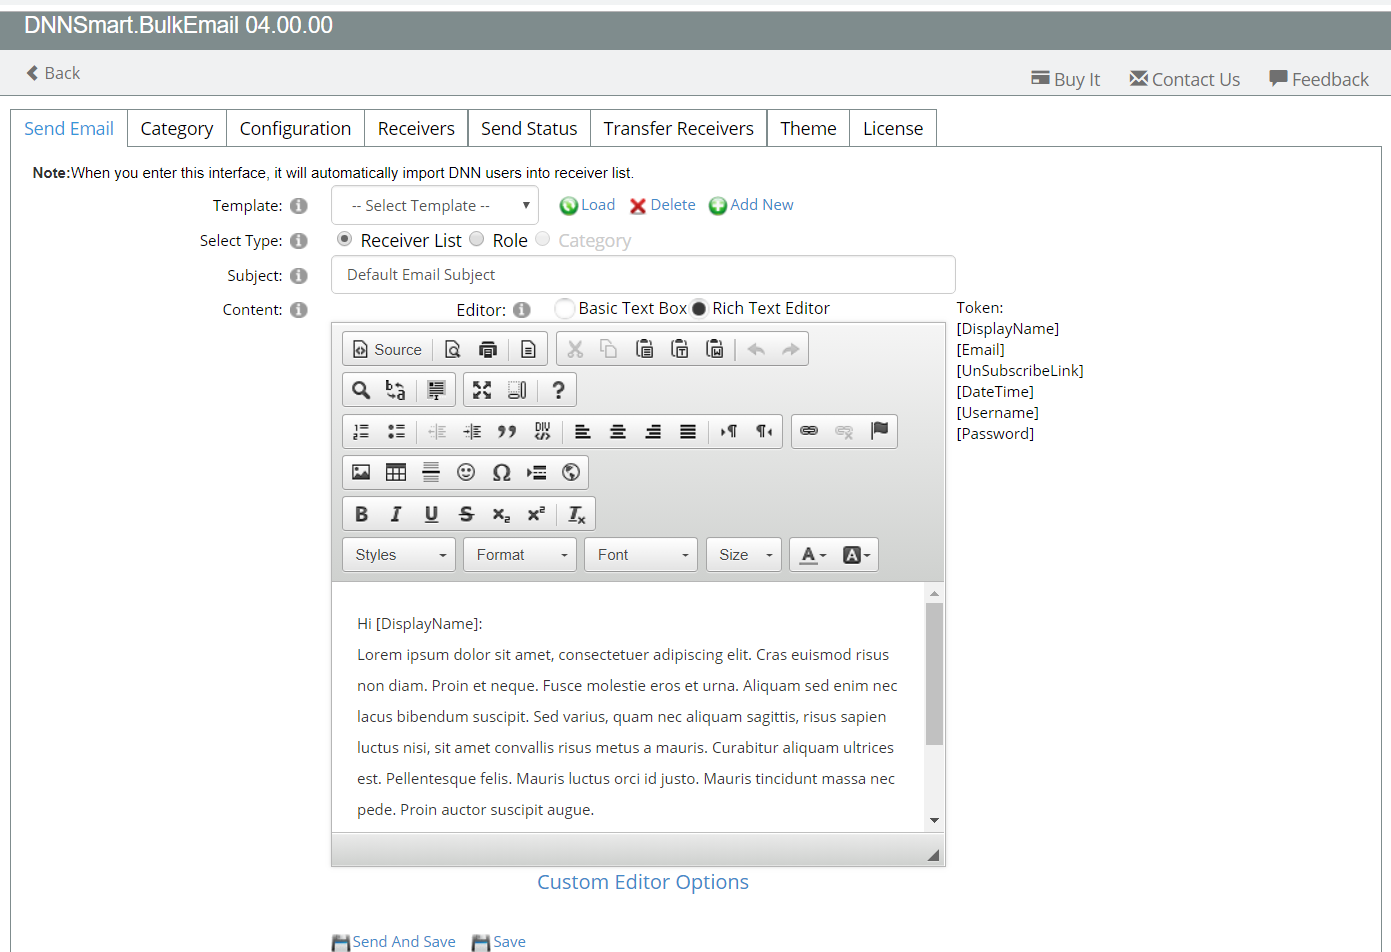
Send Email
On this interface, you can add, delete or edit the template of email which will be sent to users. In addition, you can also choose appropriate users and send an email to them in batches.
How to send emails?
Please see the workflow of sending emails as below.
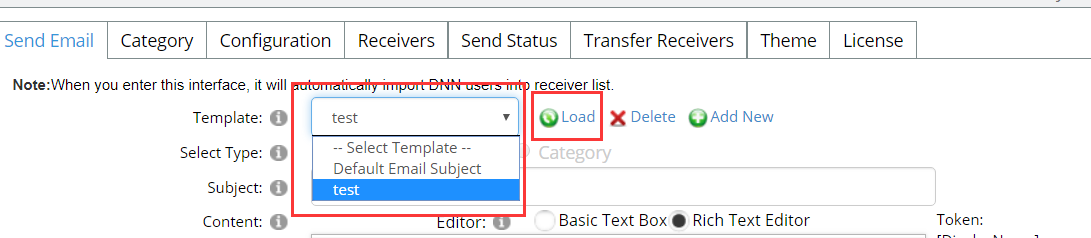
1, Please choose an email template from dropdownlist, you can choose one default template or your newly added template. After choosing one template, please don’t forget to click “load” button to load this email template.
2.Please choose which users you want to send emails to.

Receiver List: It includes all DNN users and all subscribers through bulk email module.
PS: When users subscribe through bulk email module, they only need to input email and don’t need to register on the site.
Role: Please choose one DNN role according to your need.

Category: After you add categories on “Category” interface and check option “Display Categories” on “Configuration” interface, this option will be enabled.
When users subscribe, they can choose categories they are interested in. When sending bulk e-mails, admin can personalize the marketing content of bulk e-mail according to different categories.
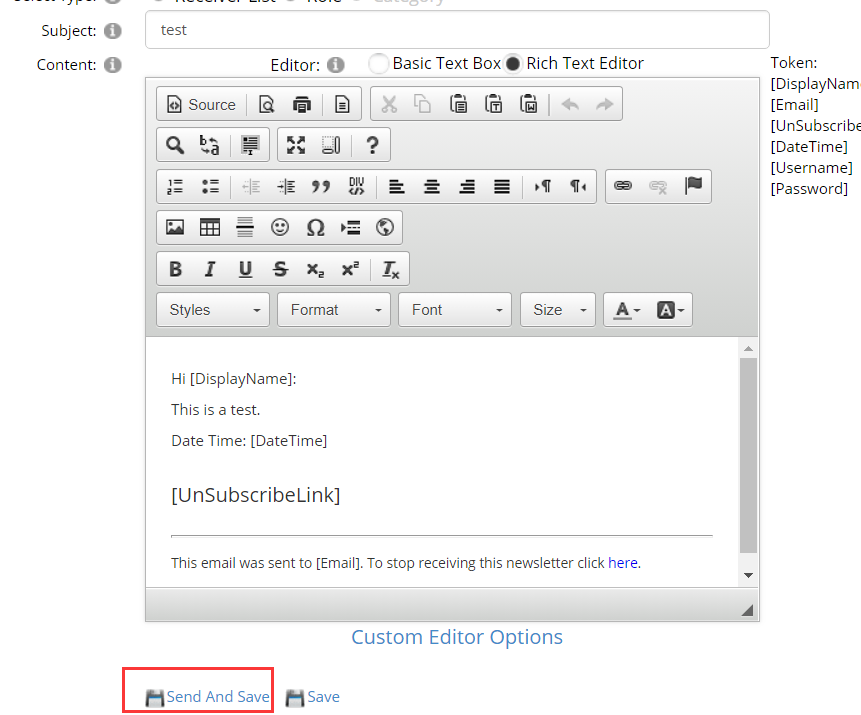
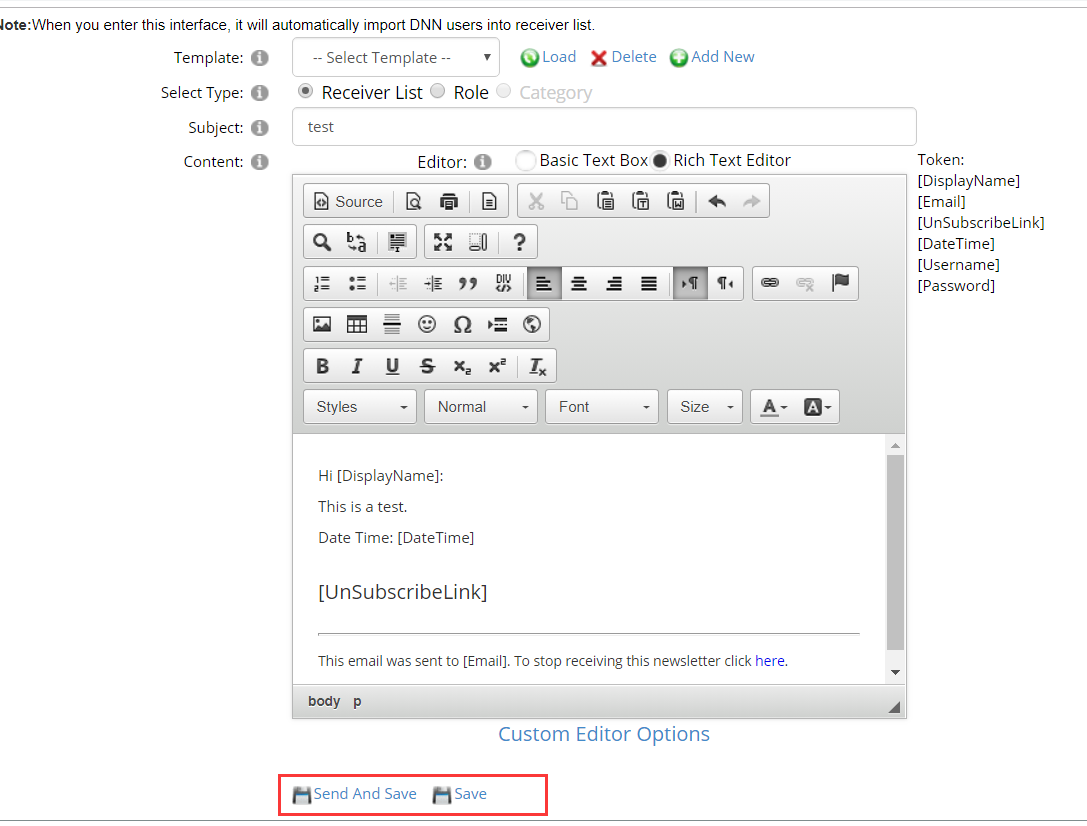
3.Please click “Send And Save” button.
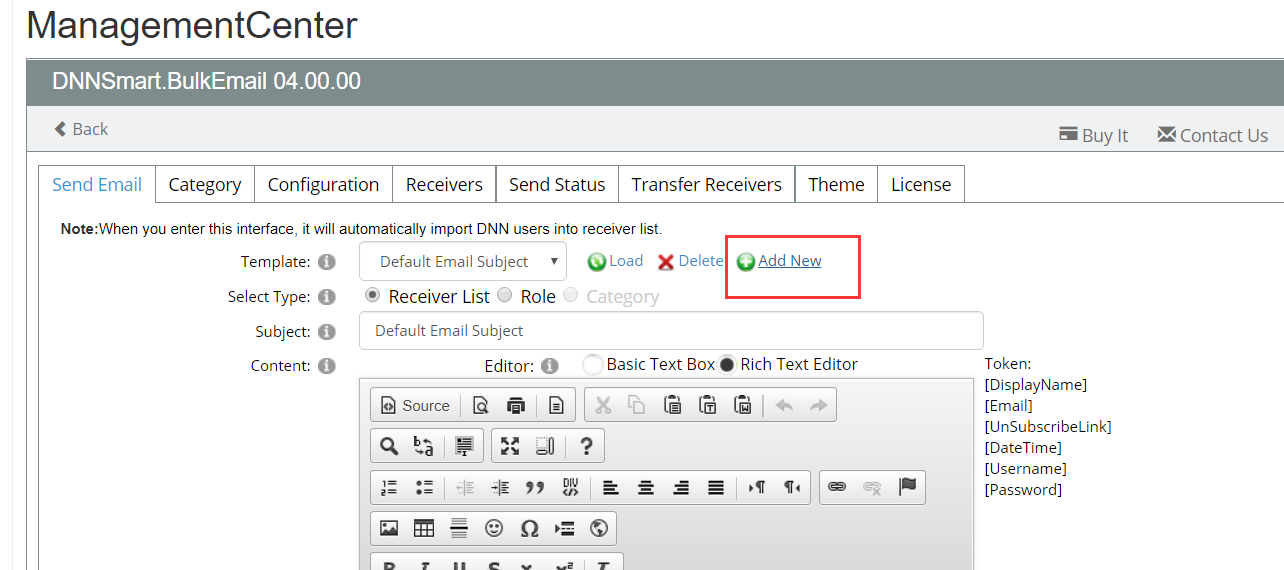
How to add a new email template?
1, Please click “Add New” button as below.
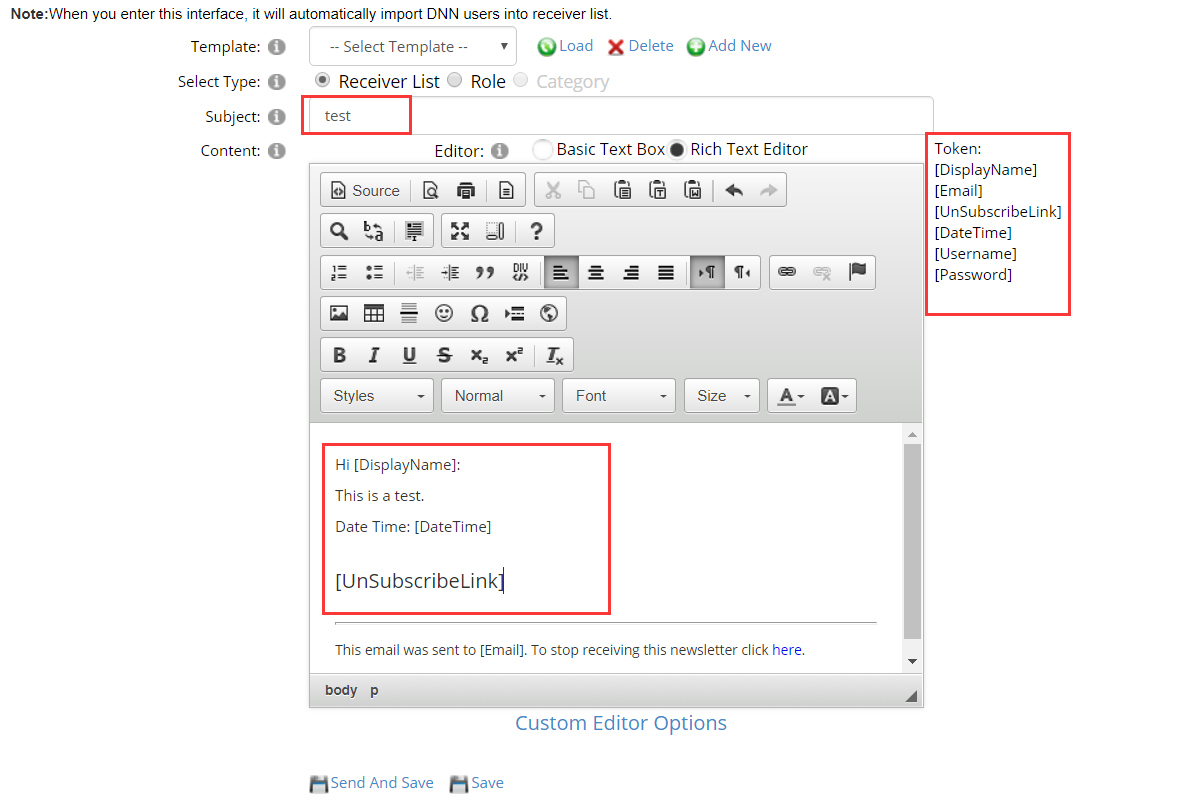
2, See the screenshot below.
You can input email subject according to your need, and you can also define the template of email content. Available tokens are listed on the right, you can use according to your need.
3, Please click “Save” button, then the template will be saved. If you click “Send And Save”, then it means that it will send emails to your chosen users and save this email template at the same time.
How to edit or delete one existing email template?
1. Please choose that email template from the dropdownlist of “Template”.
2. Please click “Load” button.
3. If you want to edit it, please operate in “Subject” or “Content”. If you want to delete this email template, please directly click “Delete” icon.
Category
On this page, you can add, edit or delete categories.
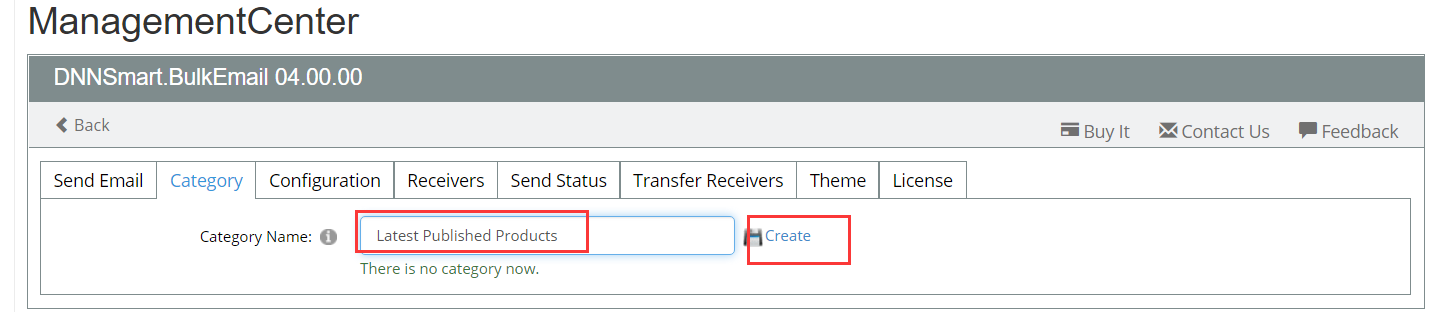
How to add categories?
1, Please input category name.
2, Please click “Create”.
How to edit and delete existing categories?
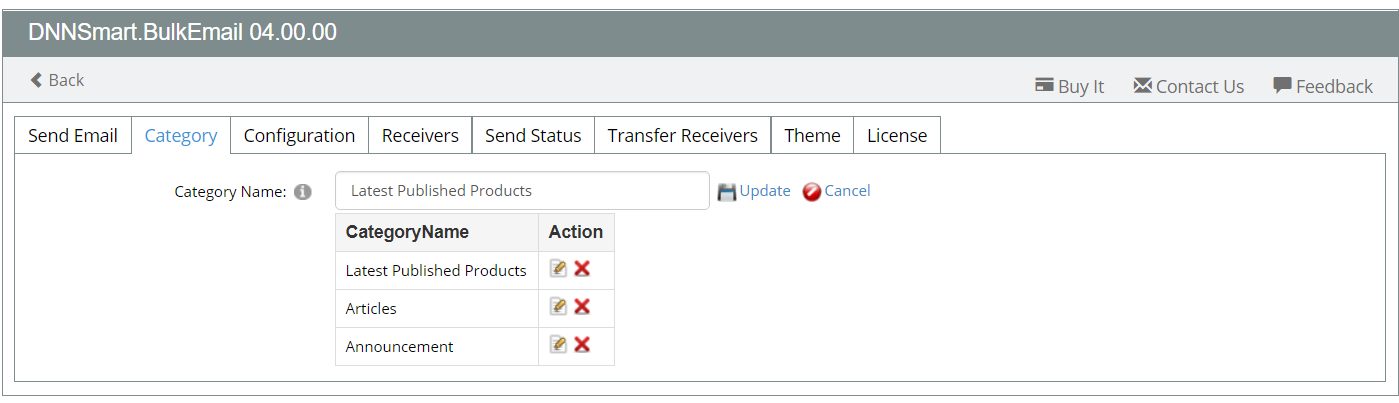
1.Please click pencil icon, then update category name and click “Update” icon.
2.Please click delete icon, then that category will be deleted.
Configuration
On this page, you can do some basic settings for this module, such as adjusting front-end interface and configuring sender email.
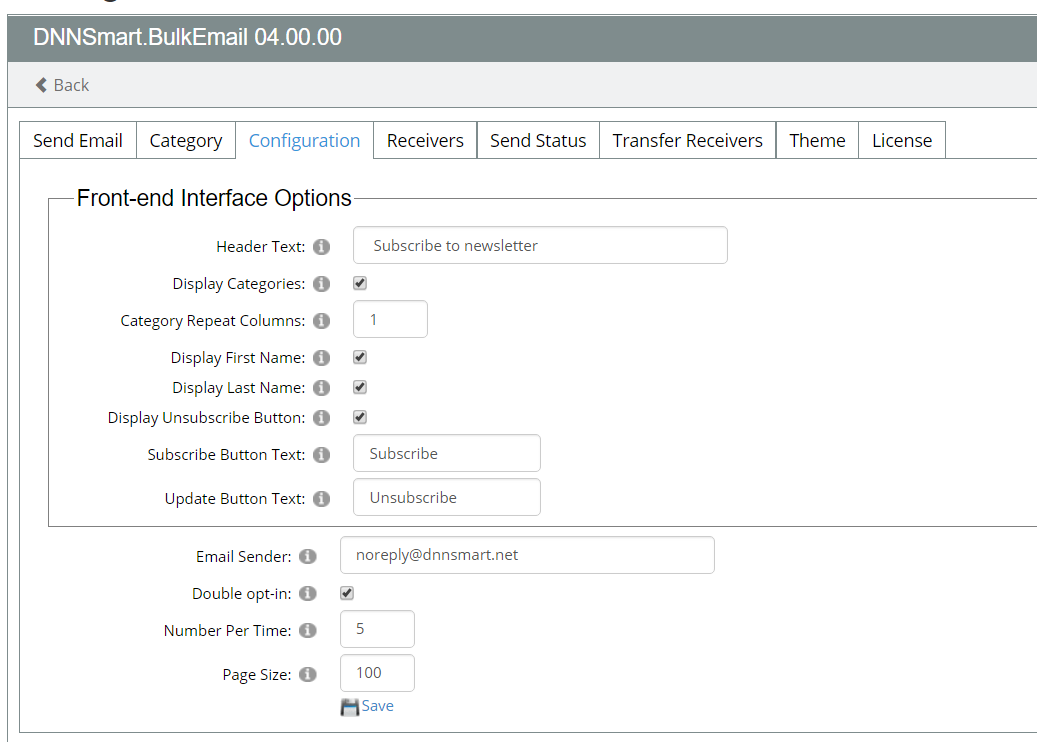
For all options on this interface, we have clarifications as below.
Header Text: This text will display at the top, see below.

Display Categories: Whether to display categories in the front-end. If you uncheck this option, it means users will receiver newsletter in all categories.
Category Repeat Columns: You can configure how many categories to display in one row.
Display First Name: After checking this option, first name input box will display in the front-end.
Display Last Name: After checking this option, last name input box will display in the front-end.
Display Unsubscribe Button: After checking this option, unsubscribe button will display in the front-end.
Subscribe Button Text: You can define the text of subscribe button.
Update Button Text: You can define the text of update button.
Email Sender: It’s the email account of the sender. When the user receives the email and click “Reply” button, ”Email Sender” will be automatically filled.
Double opt-in: After checking this option, users need to login mailbox to confirm when they subscribe for the first time or update subscription.
Number Per Time: You can determine how many emails will be sent at one time.
Page Size: You can define the page size of receiver list.
Receivers
On this page, you can search, edit or delete receivers and you can also change subscribe status for receivers.
How to search receivers?
You can search receivers according to different conditions, you can choose one kind of condition or multiple kinds of conditions.
1.Search by date, you can choose one start date and one end date, then click search.
2.Search by subscribe status, you can choose one from dropdown list, then click search.
3.Search by category, you can choose one from dropdown list, then click search. In addition, you can also input keyword to search.
How to edit or delete receivers?
After you search receivers according to condition, a receiver list will display as below.
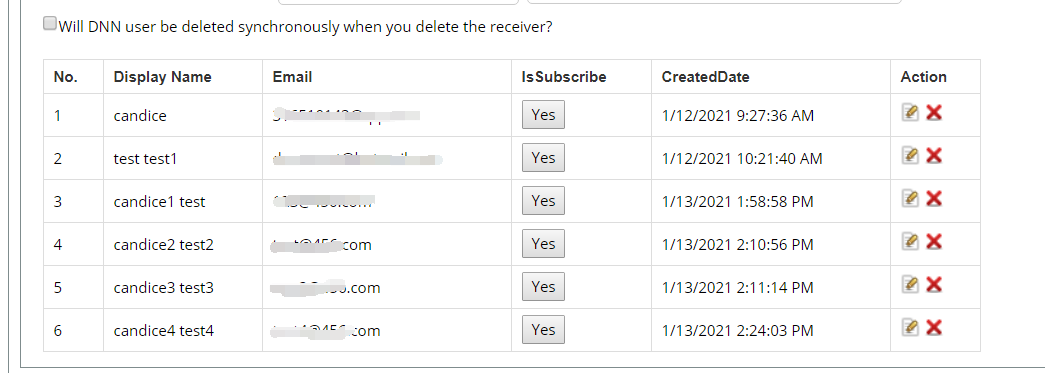
1.If you want to edit which receiver, please click pencil icon. Then you will see following interface.
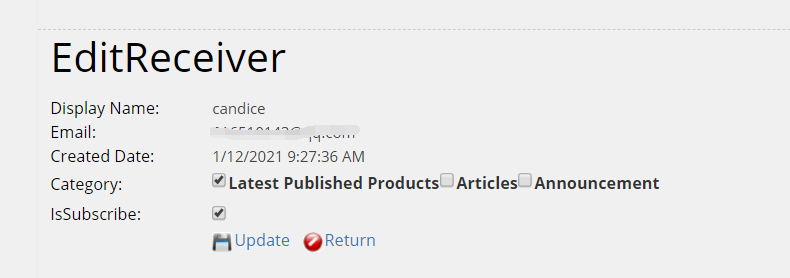
You can update category choices for this receiver. You can also uncheck “IsSubscribe” option, then this user will be unsubscribed.
2.If you want to delete which receiver, please click delete icon.
Please note, if you check “Will DNN user be deleted synchronously when you delete the receiver? ”, it means that this receiver will also be deleted from DNN user table.
How to change subscribe status for receivers quickly?
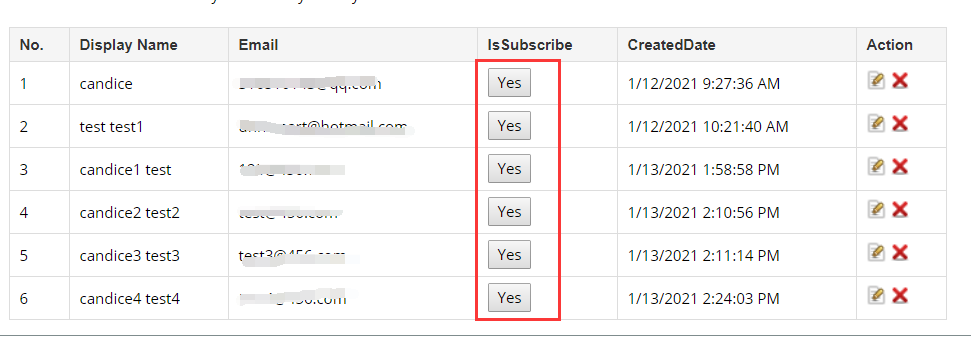
Please directly click “Yes” button in receiver list, then the subscribe status will become “No” instantly.