How to install this module and add the module on a page?
You can refer to this article and follow steps included.
How to configure this module?
Suppose we have the following table. It has four fields “image”, “title”, “description” and “category”, and five lines of data.
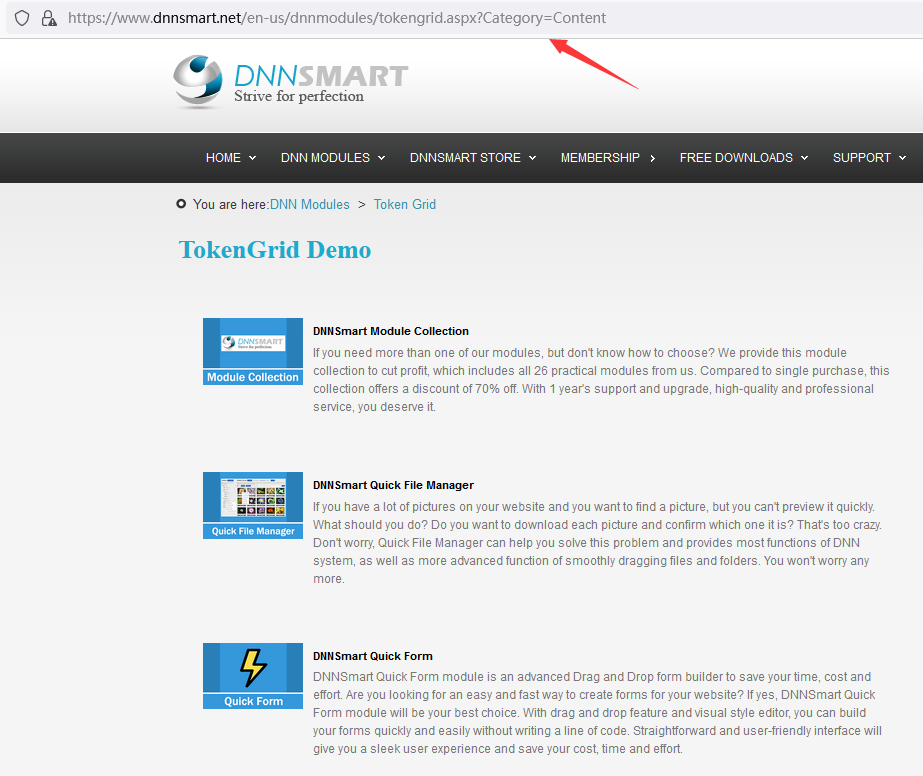
We want to display these five lines of data in the front-end, and display three pieces of data per page. The URL has a parameter “Category”. If the parameter value is Content, the displayed data will come from category “Content”. If the parameter value is Tool, the displayed data will come from category “Tool”. How do we use modules to implement it?

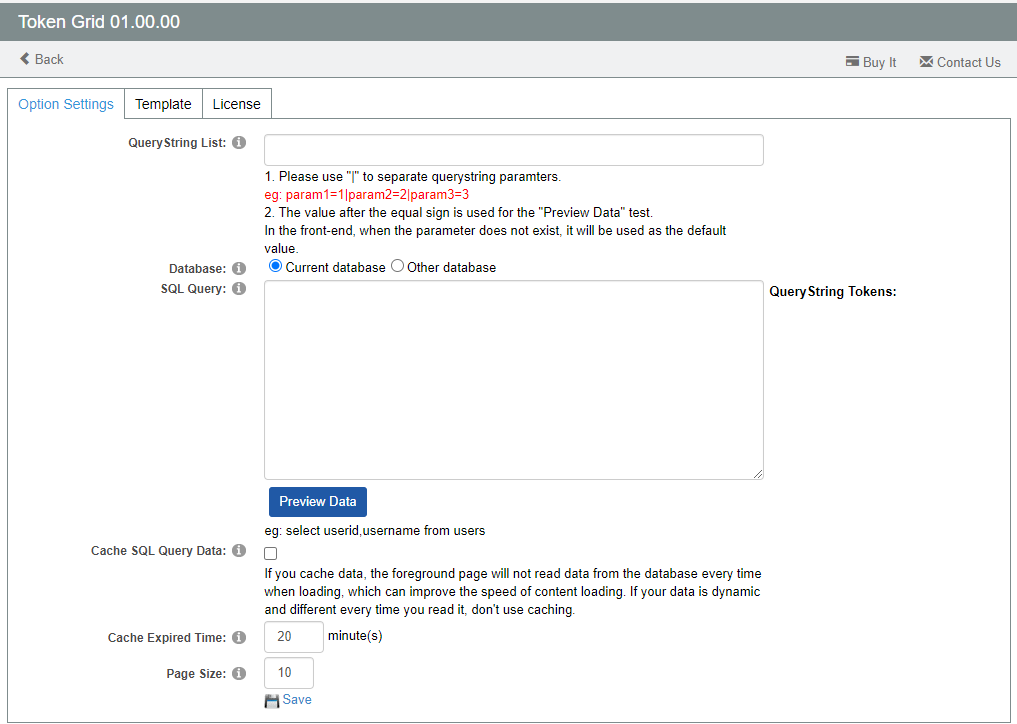
1, Please click “Dashboard” and enter Optiong Settings page, see screenshots below.

2, In Query String List, we input "Category=All". If there's no parameter "Category" in the URL, it will display "All" by default. Enter the statement to be queried in SQL Query and we use [Category] Query String Token, this can achieve filtering data through URL Query String. We configure Page Size to be 3.
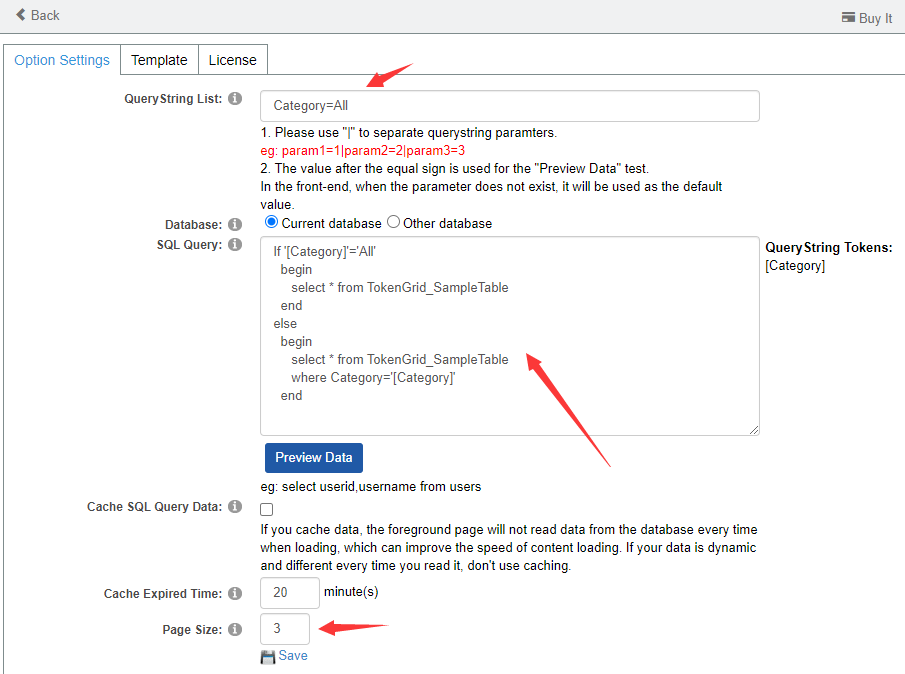
Cache SQL Query Data: After checking this option, the data will be cached to improve the loading speed. If your data changes dynamically, this option is not recommended.
Cache Expired Time: This option controls the cache time.
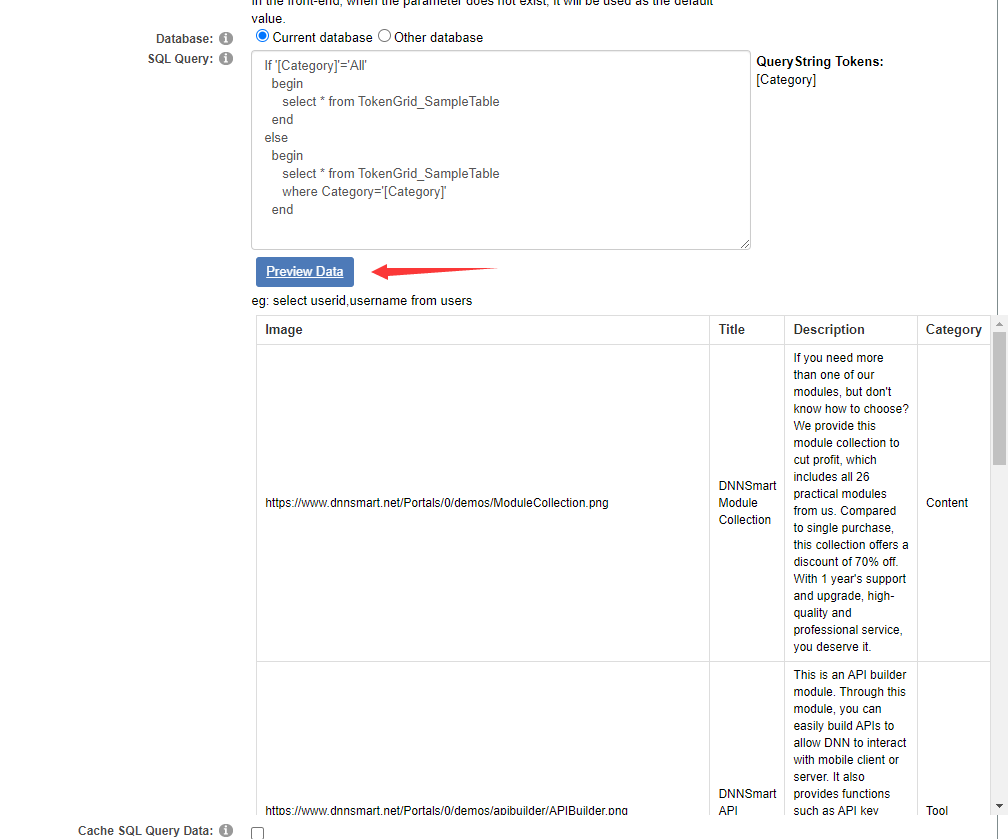
3, We click "Preview Data" to see if the query is normal. After clicking it, everything is normal. The default value of "Category" is All.
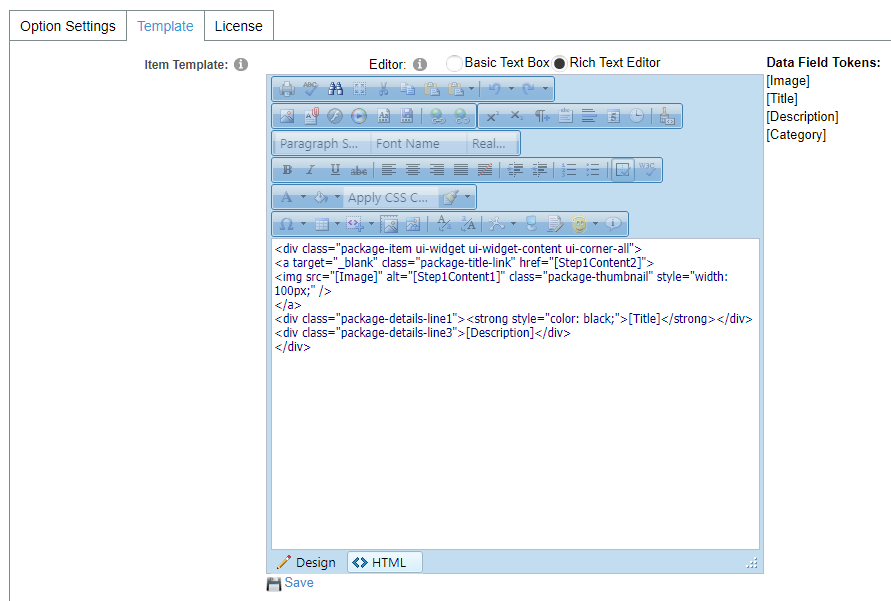
4, Next, we will go to Template page and edit template. You can write styles in site or skin CSS.
5, After we finish configuration work, we can see the effect in the front-end as below.
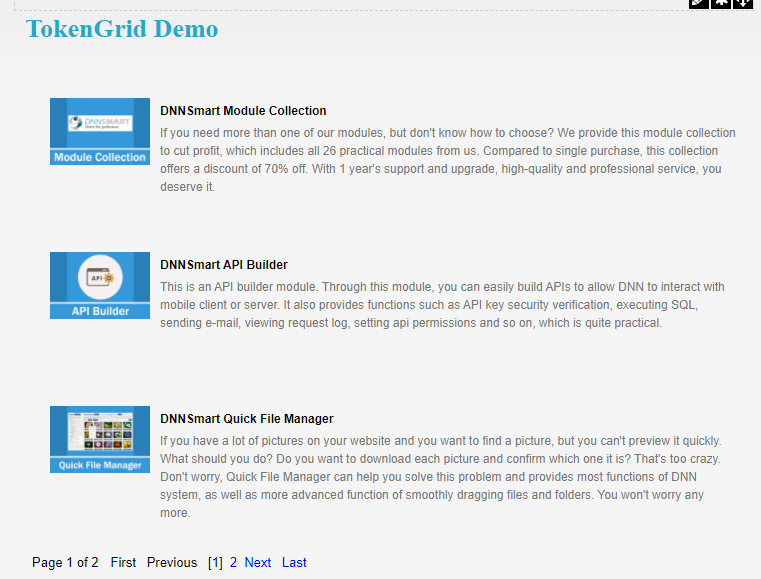
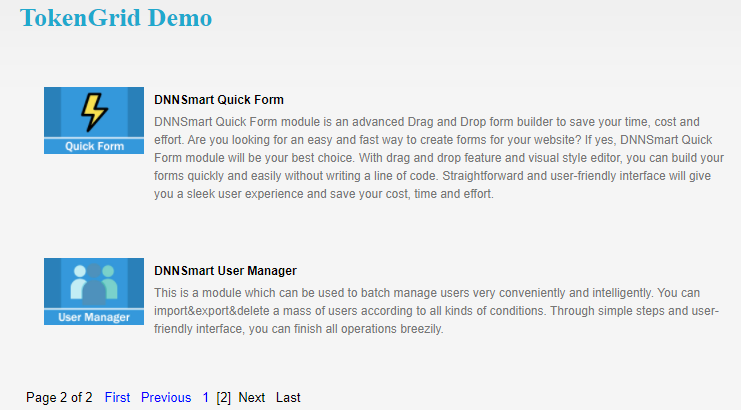
6, We can click “Next” to view the data on the second page.
7, If we add "Category=Content" in the URL, the following effect will be achieved and it only displays the data whose category is Content.
8, Configuration is finished.
This module is quite flexible. You can use it to customize any data you want to display. Thank you for reading.